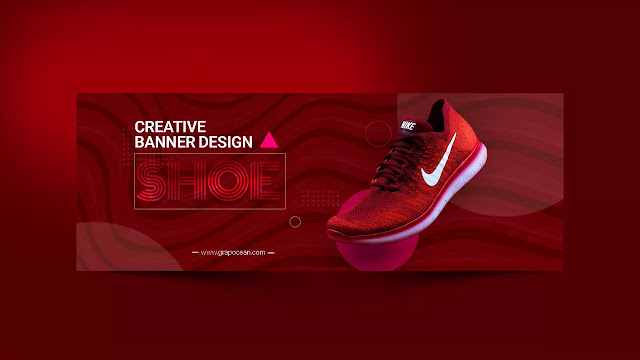
Hey There, Greetings All, Welcome to a new tutorial by Grapocean. Today's tutorial discusses how to create an e-commerce banner. E-commerce banner design usually refers to the different types of product banner design. The e-commerce banner is utilized for various exhibitions of products on the website. Those who have e-commerce websites make these banners by hiring different designers.
How to Make Banner for eCommerce website?
Anyway, I used Adobe Photoshop earlier version to design this tutorial. Here I will explain how to create an e-commerce banner from start to finish. Follow the tutorial. I hope you can learn something new from here. This banner drives a lot of traffic and can multiply sales of your product. For this reason, those product banner has to be made with many things in mind. These are a few common materials used by designers to design banners.
- Color
- Fonts
- Shapes
- Texture
- Pattern etc.
In some cases, some of these are used, and in some cases, all are used. However, here I have created a pattern background for this e-commerce banner.
First, open the Adobe Photoshop software to create the design artboard As I said before, I have made a custom pattern for this banner background. So let's make it first. I created some horizontal using Adobe Photoshop's >>Rectangles tool to create this custom pattern. After making the shapes, I put them one below the other and arranged them in a row. Then I march all the layers together. Then I click on the >>Filter menu from the top menu bar of Photoshop and go to the >>Liquify option. Then I apply the liquify to them to make the carving effect. Then I put the picture of the product on the top of the banner, which is a red color sports shoe.
Then I pick the red color for the liquefied shape according to the product color. Now I apply some 3d style for this background shape. to do this, go to that liquefied shape >>bleanding option and apply to check the >>bevel and emboss box and edit the properties Then, I used a beautiful font to highlight the main title. I have applied some effects to this font, so it looks professional and attractive. I have made some bubble shapes using the Ellipse tool and put it
Template Information:
- Size : (height x width )-1920x700
- Bleed Area : Not available
- Resolution : 300 DPI
- Color Mode : RGB
- Template type : PSD,PDF,JPG,
Font Names: Monoton Regular

If you have any quary let me know